Conditional Ticket Fields: Smarter, Simpler Data Collection
timestamp1739891502527
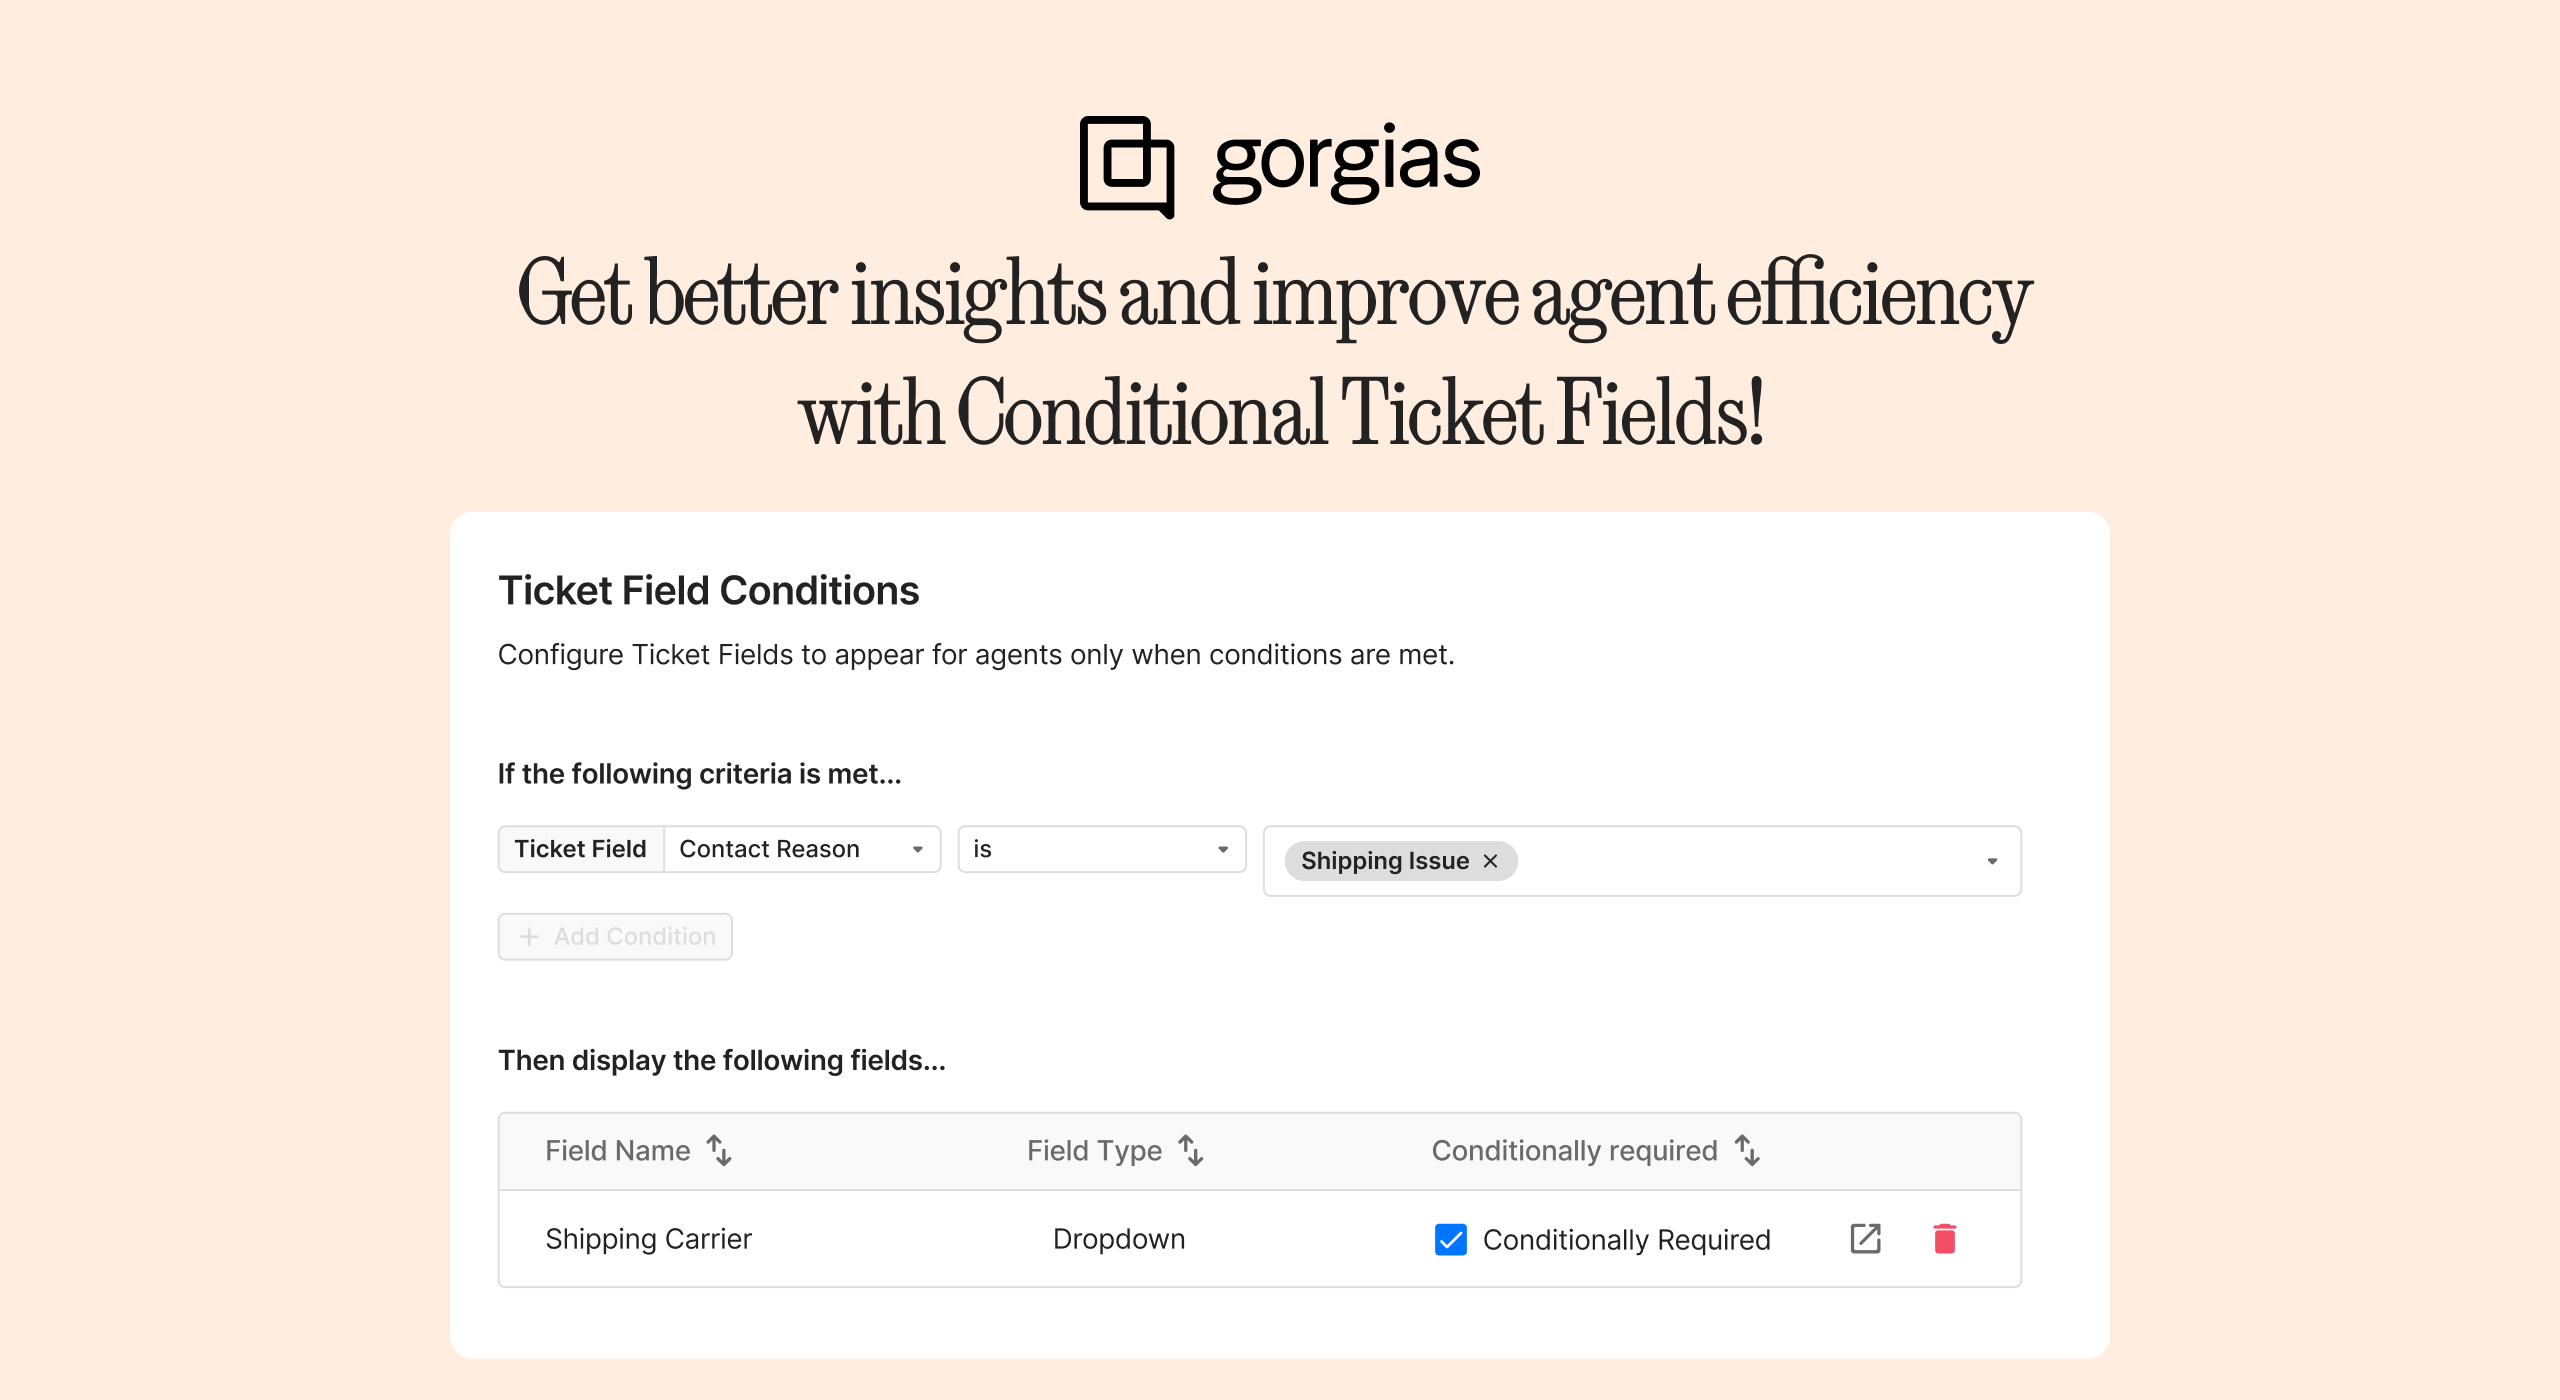
Conditional Ticket Fields are here to improve how your team collects data and insights from your support tickets. By dynamically displaying fields based on specific conditions—starting with fields like Contact Reason—you can declutter the agent experience, ensure accurate data collection, and unlock actionable insights for your business.
Why Conditional Ticket Fields Matter for You
Focus on What Matters: Only display relevant fields to your agents, reducing clutter and improving efficiency. Say goodbye to irrelevant fields and “N/A” entries that cloud your data.
Data-Driven Decisions Made Easy: Capture the granular insights you need to drive decisions, from tracking Quality Control issues for audits to reporting Voice of Customer (VoC) insights to your executive team.
Built for Compliance: For regulated industries, like food and supplements, ensure consistent reporting with conditional fields tailored to meet FDA or similar standards.
Effortless Agent Workflows: Simplify your agents’ experience with intuitive ticket forms. Keep workflows clean, organized, and adaptable to every ticket type.
How early testers are using Conditional Ticket Fields
Show additional fields (e.g.,
Quality Issue) only if relevant criteria likeProduct Name > Issue Type > Quality Issueare selected.Require specific fields (e.g.,
Product SKU) only when theContact ReasonisProduct IssueorProduct Query.Set required fields for warranty-related tickets while leaving them optional for other services.
Want more inspiration on Ticket Fields? Check out our playbook, with 12 use cases for Ticket Fields.
Get started with Conditional Ticket Fields today
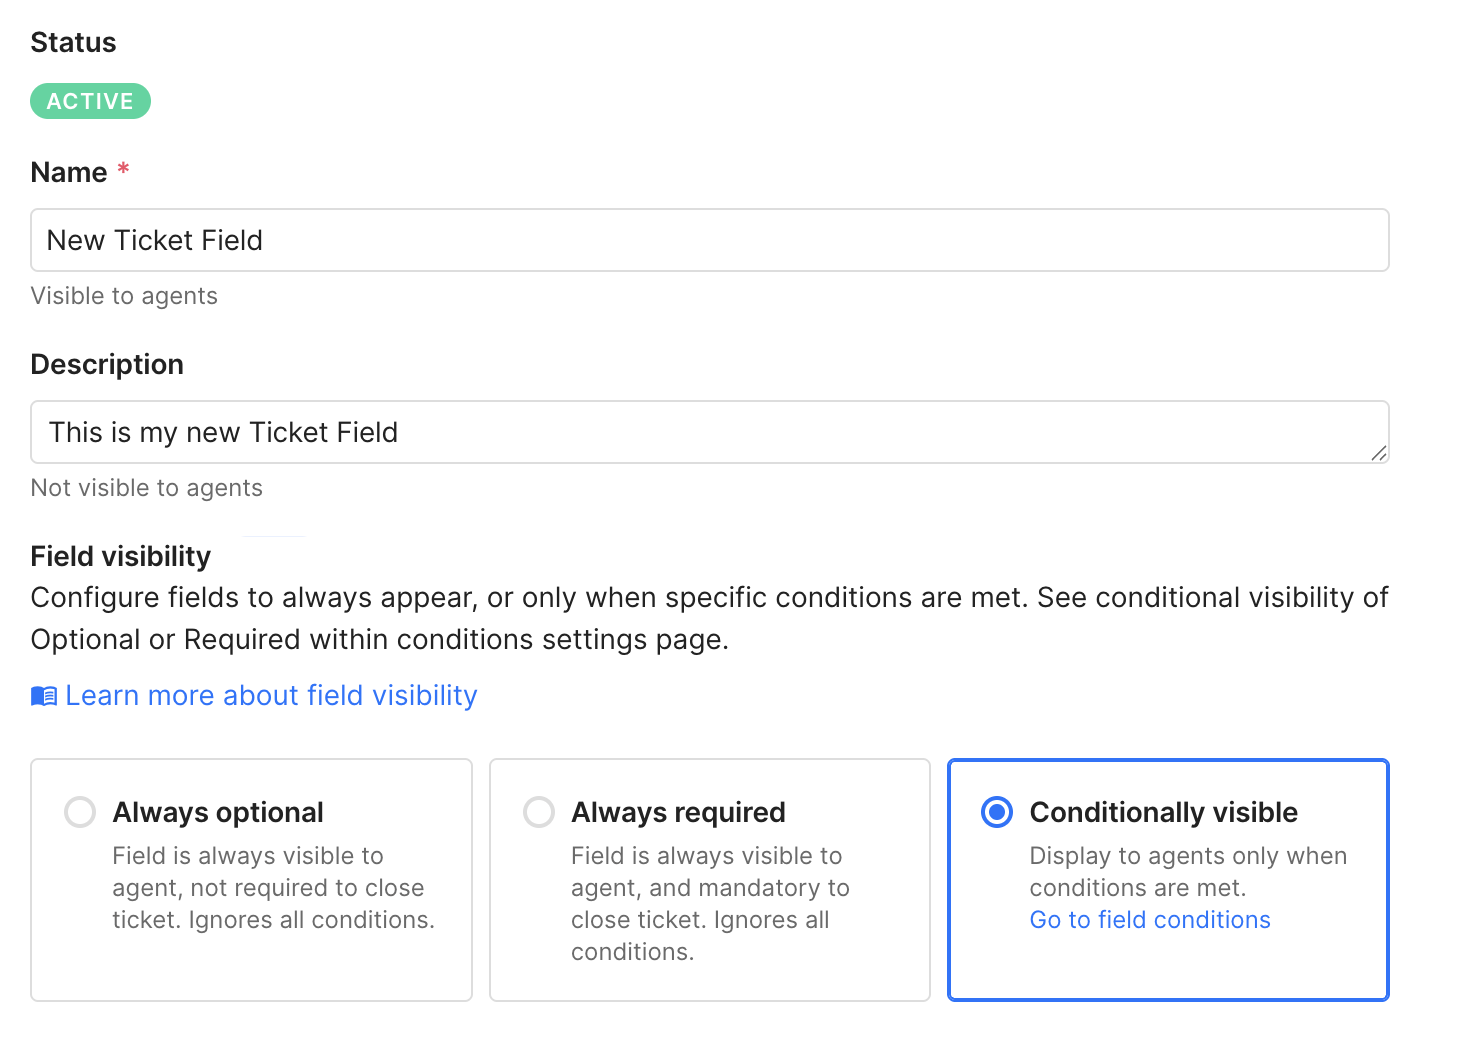
First, make the Ticket Field(s) “Conditionally Visible.”
Head to your Ticket Fields. Create a Ticket Field or select an existing one that you’d like to be Conditional.
Enable "Conditionally Visible," In the Ticket Field’s settings, this must be enabled or the condition won’t apply.
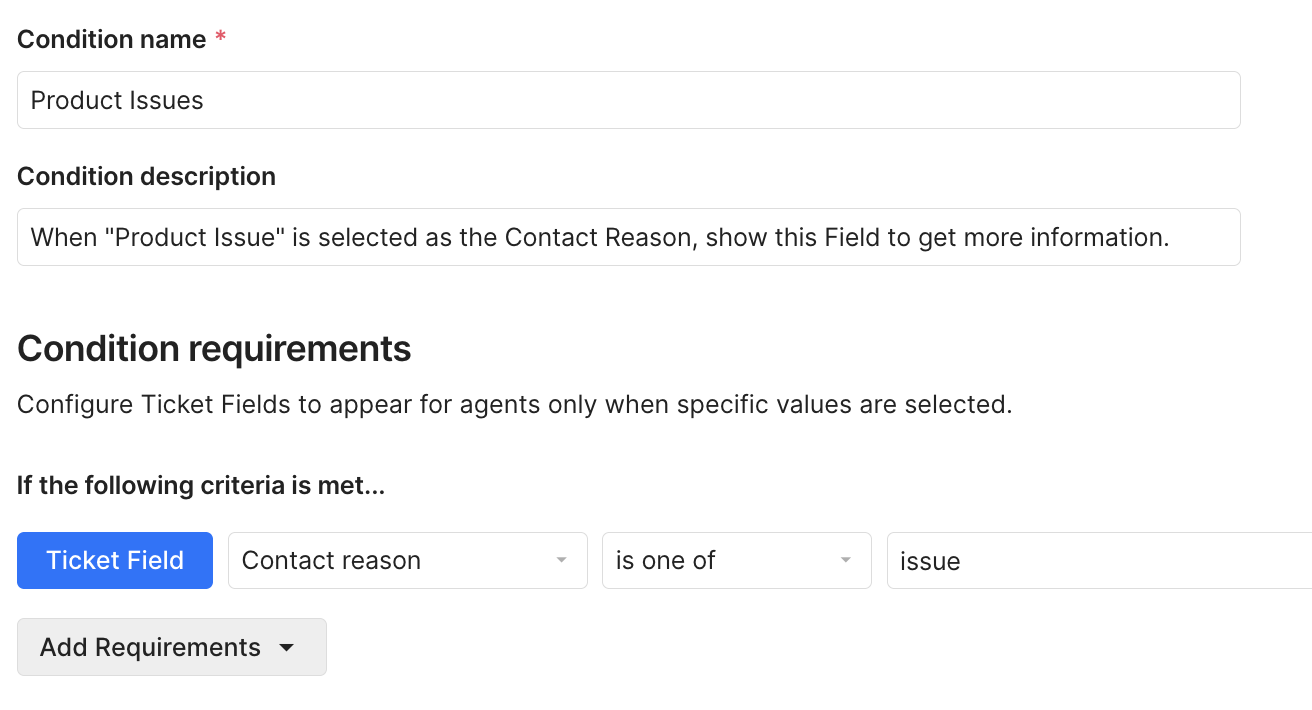
Next, create your Condition(s).
Head to Settings > Field Conditions. This is where you can set conditions like “Show when Contact Reason is ‘Shipping.’”
Define your requirements using logic like “is one of” or “is not empty” to control when fields appear.
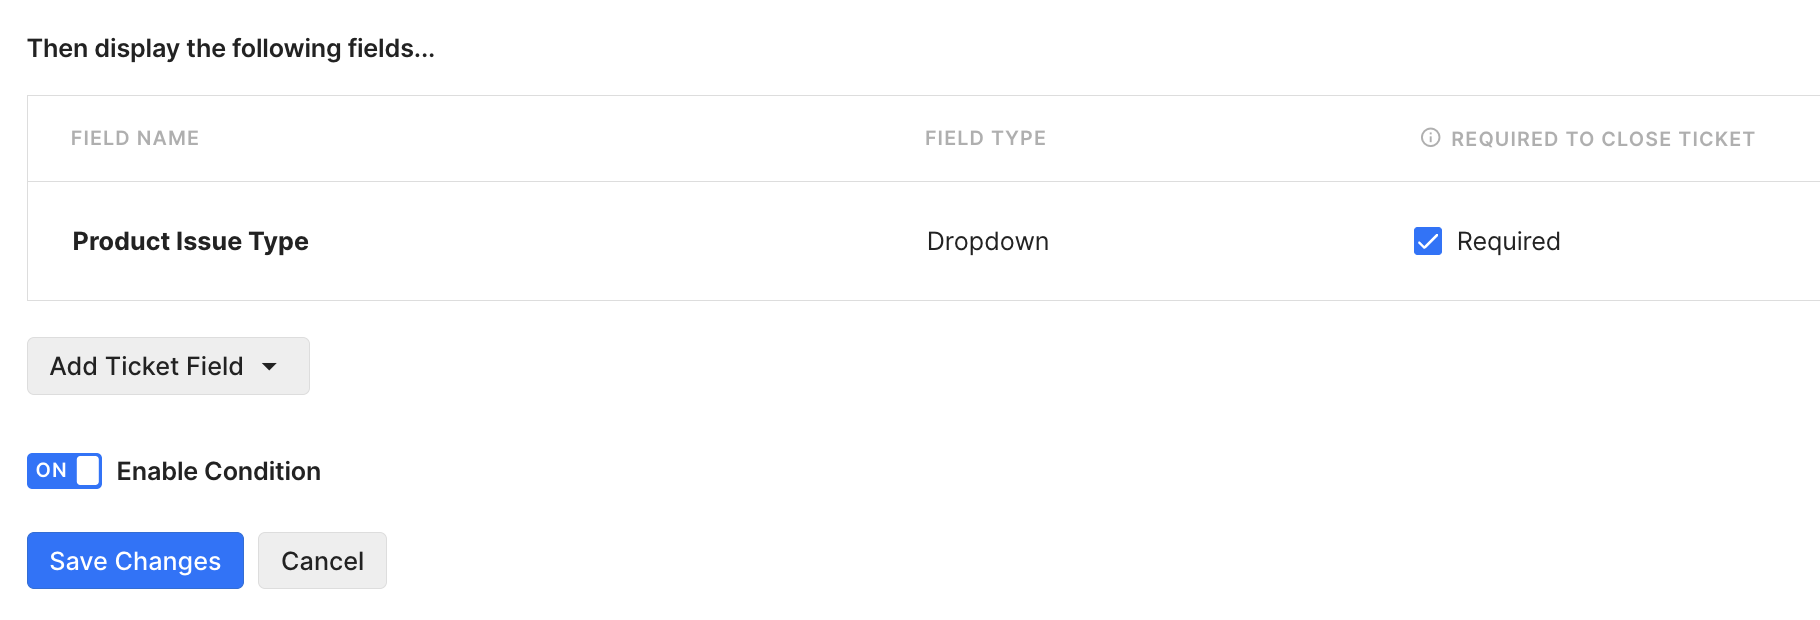
Last, link the Ticket Field(s) in the Condition’s settings.
Below the condition requirements, you’ll see “Then display the following fields…”
Here, you can select an existing Ticket Field. This Ticket Field will show only when the conditions are met.
Note: If you did not mark the Ticket Field as “Conditionally Visible” as described above, you’ll be redirected to do that before saving.
Check out our guide to Conditional Ticket Fields for help along the way.
Did you like this update?
![]()
![]()
![]()
Leave your name and email so that we can reply to you (both fields are optional):